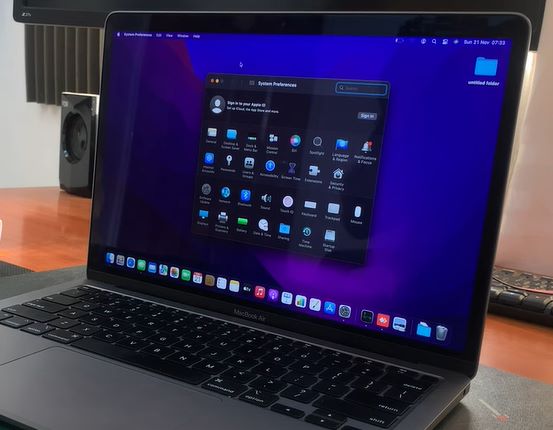
Screen recording is one of the easiest things you can do to show someone something new in macOS Ventura or share a funny or cool clip with them. The great thing about macOS is that it has had built-in screen recording for years, and with each new version of the Mac operating system, Apple has made it better and easier to use. So, if you want to know how to record what’s on your MacBook or iMac screen, here’s how. Read on to know abbot: how to screen record on mac
Screen Record On Mac: Points To Know!
Wondering, “how to screen record on mac’s screen with an app that comes with macOS?” the answer is yes. Apple has a built-in tool called Screenshot that lets you record video of what’s happening on your screen, along with real-time audio. You can use the Screenshot menu to take both photos and videos off your screen (for videos, choose one of the last two icons with a dot in the lower right corner).
How To Take A Screenshot on Macbook Air?
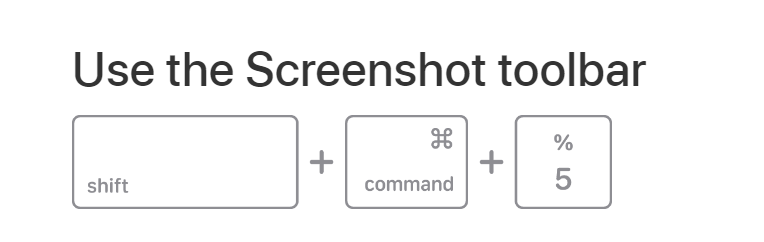
- Shift+Command+5 will bring up the toolbar.
- Choose Record Entire Screen or Record Selected Portion. If you choose the latter, you can move and resize the frame around the part of the screen you want to record.
- Go to Options to change the options for your microphone, choose where you want to save your recording or set a countdown timer.
- To start the video, click “Record.”
- When finished, click the Stop Recording icon in the menu bar.
- Tip: If your Screenshot toolbar is already set to screen recording, you can use hotkeys to record your screen. To start recording, press Shift + Command + 5; to stop recording, press Command + Control + Esc.
How To Oeratethe Macbook Record Screen Using The Screenshot Toolbar
If you’re thinking, “How to screen record on mac with an app that comes with macOS?” the answer is yes. Apple has a built-in tool called Screenshot that lets you record video of what’s happening on your screen, along with real-time audio. You can use the Screenshot menu to take both photos and videos off your screen (for videos, choose one of the last two icons with a dot in the lower right corner).
How To take a screenshot:
- Shift+Command+5 will bring up the toolbar.
- Choose Record Entire Screen or Record Selected Portion. If you choose the latter, you can move and resize the frame around the part of the screen you want to record.
- Go to Options to change the options for your microphone, choose where you want to save your recording or set a countdown timer.
- To start the video, click “Record.”
- When finished, click the Stop Recording icon in the menu bar.
Tip: If your Screenshot toolbar is already set to screen recording, you can use hotkeys to record your screen. To start recording, press Shift + Command + 5; to stop recording, press Command + Control + Esc.
How To Record A Video On A Mac In Screen Recordings?
You need to know how to add sound to your videos when you think about how to screen record on a MacBook. As we’ve already discussed, the native Mac screen recorder lets you record audio from your Mac’s built-in microphone. If you want to learn more about recording your screen on Mac with sound, such as creating and editing voiceovers or recording Skype meetings, check out our article on how to screen record on mac.
How to use QuickTime on a Mac to record the screen?
Mac users who want to record their screens can also use QuickTime Player. This app is usually used to play video files but can also record your screen and sound. To use QuickTime Player as a Mac screen recorder, open it from Applications and choose New Screen Recording from the File menu. It will bring up the Screenshot menu, which lets you set up your recording and start it. The only difference between QuickTime Player and Screenshot is that when you’re done recording with QuickTime Player, your file will automatically open inside the app, and you can start editing it immediately.
Screen Recorder Macbook Using OBS Studio
OBS Studio is popular among Mac users who want to record their screens. OBS Studio is a free, open-source app many people use to stream and record their screens. It’s known for having a lot of advanced features, but even newbies can use it without much trouble.
Start with the basics to learn how to screen record on mac with OBS Studio:
- Download the app from obsproject.com, set it up, and run it.
- Set up video: Sources > + icon > Display Capture > Name source > OK
- Set up audio: By default, OBS Studio is set to record audio from your Mac’s built-in microphone. You can add external audio sources or apps that record system sounds in Sources.
- Choose where your recordings are saved: Controls, Output, Recording, Browse, and OK.
- To start recording your screen, click Start Recording under Controls. Mac
- Press When you’re done, stop recording.
Conclusion
If you want to know how to screen record on mac, there are many different ways to do it. All of the screen recording apps we’ve discussed have pros and cons, but they all have the same basic function: recording your screen without any problems. Well, that’s all you can do to record your Mac’s screen. As you can see, macOS’s built-in recording tool has a lot of features and can easily meet most people’s needs. You can add timers, show mouse clicks, and do a lot more on your Mac. Also, you now know how to record the screen and system sounds on your Mac. Power users should check out the many third-party apps available. So, do you use the screen recording that comes with macOS, or do you use a third-party app? Tell us in the comments below.
FAQs
How to screen record on mac and sound at the same time?
All of the above ways for Mac users to record their screen also let you record audio from Mac’s built-in mic so that you can record your voice and any sounds playing at the time (music, app sounds, etc.).
How do I record my Mac screen with sound if I don’t have a microphone?
All Macs have a built-in microphone, so you don’t need a separate microphone to record sound when using a Mac.
